Clock Suspension Spring Installation
[schema_type type="HowTo" title="How to Install Suspension Springs"]
[howto_step step="1" name="Clock Suspension Spring Installation" img_url="]
[howto_step_direction]
The following is a description of a clock suspension spring installation. There are two ways that the clock suspension spring can be held into the suspension post. One way is to use a thumb, or set screw. When ready, just remove the screw and the suspension spring will fall out of its slot. Another way is to use a tapered pin. This is a pin that is skinny on one end and wide on the other.
Push the skinny end through the pre-drilled hole in the suspension post. Then push it through the hole in the suspension spring all the way to the other side of the post. Similarly, remove it using needle nose pliers. Twist and yank it out from the wide side. Please note, some set screws may be too wide for the suspension top hole. In this case, use a tapered pin to secure the suspension spring instead of the screw.
[/howto_step_direction]
[/howto_step]
[howto_step step="2" name="Connect the leader" img_url="]
[howto_step_direction]
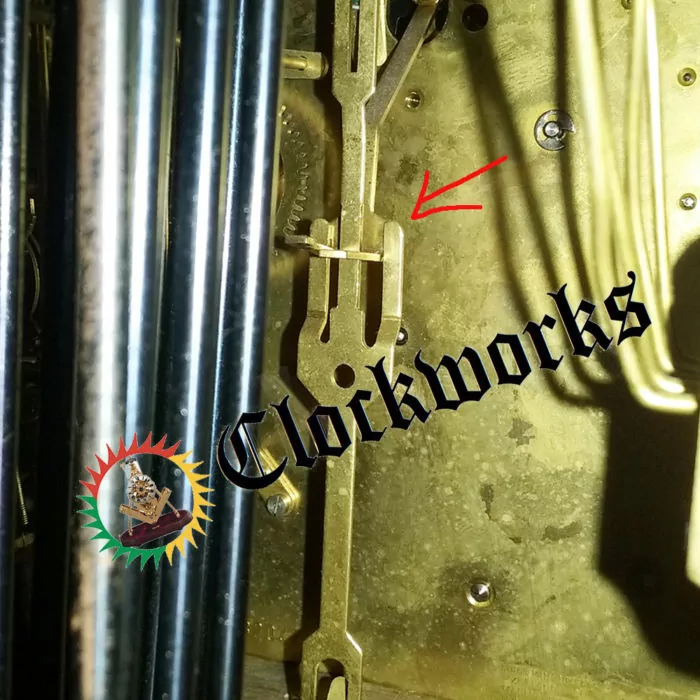
Hook the leader on the suspension spring prior to install. The intent is to have the suspension spring spring hooked and the leader engaged with the crutch. At this point the suspension spring can be lifted into position as inserting the set screw. Note that the suspension spring is lifted with the leader hanging on it while the leader is engaged with the crutch as one unit.
[/howto_step_direction]
[/howto_step]
[howto_step step="3" name="What is next?" img_url="]
[howto_step_direction]
Hook the leader on the suspension spring prior to install. The intent is to have the suspension spring spring hooked and the leader engaged with the crutch. At this point the suspension spring can be lifted into position as inserting the set screw. Note that the suspension spring is lifted with the leader hanging on it while the leader is engaged with the crutch as one unit.
[/howto_step_direction]
[/howto_step]
[/schema_type]
[post-content id=100711 shortcodes="true"]
Updated on: 20/12/2024
Thank you!